
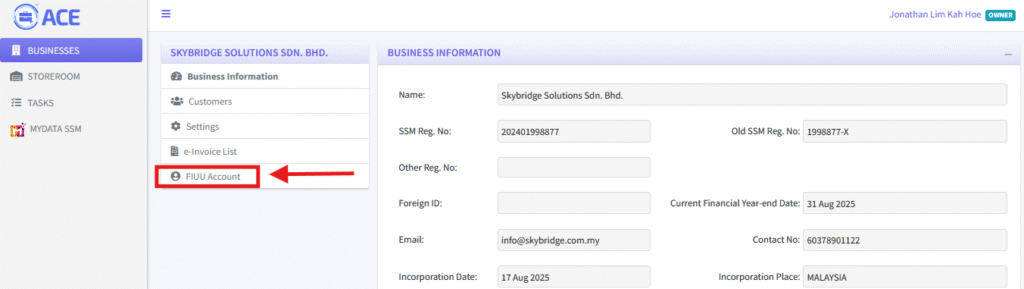
1. Select the “FIUU Account” to go to the FIUU registration page.
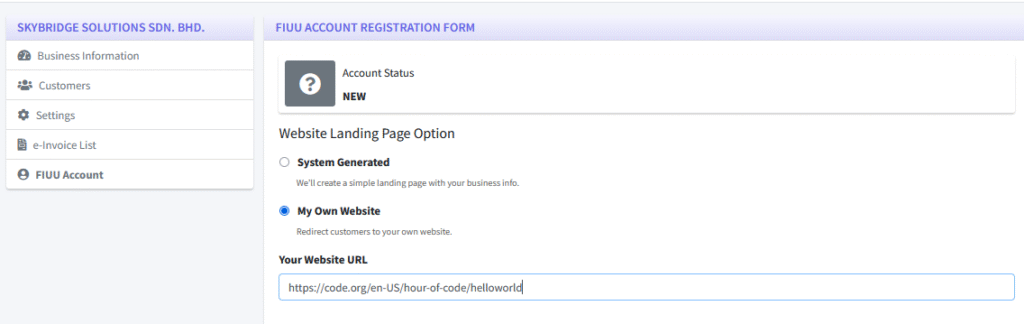
2. At the top of the section, you will see the “Website Landing Page Option”. You can choose one of the following options:
My Own Website – Select this if the business already has a website. If so, please provide the website URL in the field provided.
System Generated – The system will automatically create a landing page for the business.
3. The next section is titled “BUSINESS INFORMATION”. In this section, you will need to provide the following details:
- Business Logo
- Contact Name
- Contact Email
- Contact Phone Number
- Business Description/Background

4. In the “Product List” section, select the items that were previously added in your “Settings”. You can check one or more items, then click “Add Selected” to include them in the FIUU account registration form.

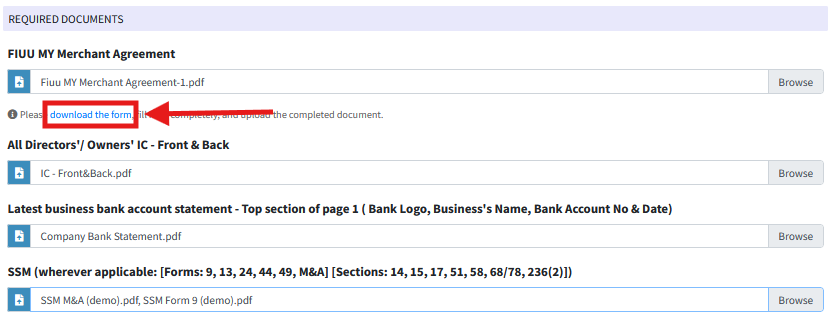
5. The next section is “REQUIRED DOCUMENTS”. Download the necessary form provided, complete it, and upload the filled form back into this section.
In addition, you are also required to upload any other supporting documents as listed.
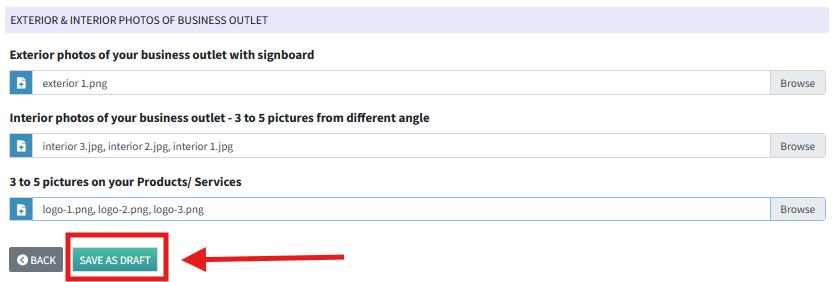
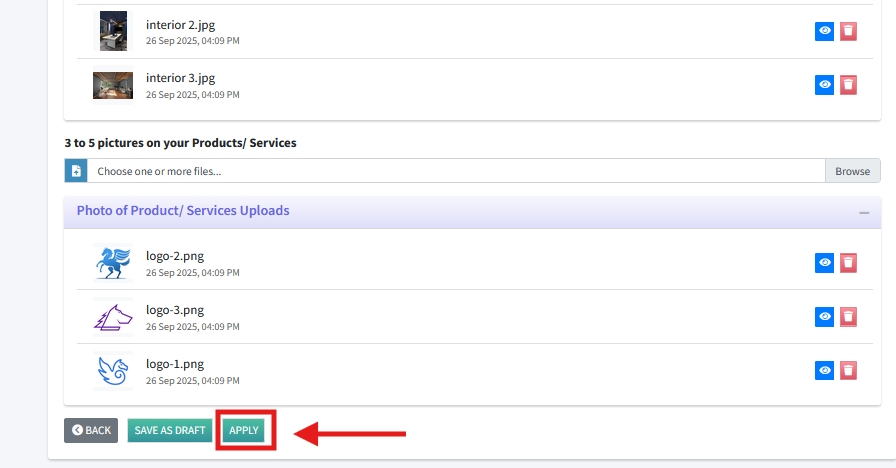
6. The final section is “EXTERIOR & INTERIOR PHOTOS OF BUSINESS OUTLET”. Upload the required photos of your business’s exterior and interior.
Once all sections of the form are completed, click the “SAVE AS DRAFT” button to save your progress.
7. At this stage, your FIUU Account application form will be saved as a “DRAFT”. You can double-check all the details before submitting.
When you’re ready, scroll to the bottom of the form and click “APPLY” to officially submit your application.
8. After submitting your application, your FIUU account status will be marked as “PENDING”. To proceed, you must complete the “PAYMENT GATEWAY INTEGRATION SETUP” by entering the following credentials:
- Merchant ID
- Private Key
- Secret Key
This application process typically takes 1–7 working days to be reviewed and processed by FIUU. Once approved, you can retrieve the required credentials from your FIUU Merchant Portal.
After entering the credentials into the appropriate fields, click the “Update” button to save your changes.

9. To complete the setup and begin using the feature, one final step is required: Authorization.
During this step, the system will prompt you to provide your Online Banking Details for refund purposes, as a RM1 authorization is required to verify your account. This is a standard procedure to ensure secure transaction handling.
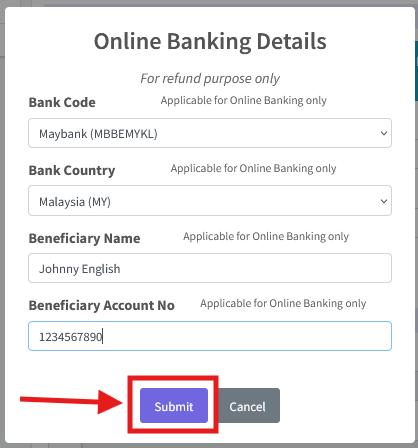
10. Upon clicking the “Submit” button, a payment link will be generated for the RM1 authorization.
After the payment is successfully processed, a success message “Integration keys successfully verified” will be shown.

7. Owners now can issue the e-Invoice as usual with an integrated payment gateway. Same process like issuing without payment gateway. But now, the payment link and the invoice will be sent to the customer’s email so they can pay through an online method.
